English
  Français
Raise3D Hyper FFF: Double the prints in half the time?


Introduction
As we mentioned in our Pro3 Plus review, Raise3D started as a forerunner back in 2015, pioneering 3D printers with user-friendly features that were quite rare and/or much more expensive at the time. And after reviewing the Pro3 Plus and the E2CF, we can only confirm that the team has kept on the same course, providing reliable and cost-efficient solutions for professionals.
Raise3D is at it again today with their new Hyper Speed Upgrade Kit for Pro3 Series (HUK3)– one of the very first, affordable high-speed printing options to hit the market.
Note: in 2023 Raise3D will offer to customers the option to purchase the Pro3 Series with the Hyper Speed Upgrade already installed.
This kit is designed to enable Hyper FFF (Fused Filament Fabrication), allegedly enabling up to 300% more speed than standard* FFF 3D printing solutions, at an MSRP of €999. Considering that speed is one of the main Achille’s heels of FFF, this could be one major game changer for the tech.
*Considering a standard 3D printing speed of 50-80 mm/s and an acceleration speed of 1,000 mm/s² on modern professional FFF 3D printers.
It sounds too good to be true, and that’s the kind of product we’re eager to try hands-on! We tested this puzzling product upgrade on the Pro3, with one central question in mind:
Can you really double, triple, or even quadruple your production without losing quality?
In this Raise3D Hyperspeed upgrade review, we go over how it works and included a showdown section to compare prints made with and without the Hyper FFF mode. We also did a quick theoretical calculation on how good this kit’s ROI could be, especially since material prices remain the same (give or take a dollar). Spoiler alert: it could be worth it in under a week of non-stop production!
Without further ado, let’s see what this HUK3 is made of.
Pros and cons
 Pros
Pros
- Affordable and cost-effective (€999)
- 2x to 5x productivity gain without loss in quality
- Intuitive software integration
Cons
- A little noisy for an office environment
- Few materials available (for the moment)
- First layer adhesion issues with ABS
TL;DR: the installation process
For a quick overview of the installation steps until the first print, have a look at the video below (1:45):
HUK3 for Hyper FFF: How is it possible?
Increasing the print speed on standard FFF 3D printers often means a compromise on print quality. The faster you go, the more prints can tend to “ring” and “string”, and the less the layers adhere well to each other. This also means more warping, nozzles potentially nosing parts off the bed, and dreaded spaghetti. Needless to say that print fails can spoil both material and time.
So how does Raise3D manage to multiply regular print speeds without– again, allegedly– any loss in quality? This is down to a combination of several factors (more information about this here).
Algorithm: Optimize patterns to cancel vibrations
First and foremost, Raise3D uses an “active vibration-canceling algorithm”, an open-loop resonance compensation technique that has existed for decades but was only applied to 3D printing a couple of years ago by Klipper (open-source 3D printing firmware).
This technique essentially consists of “shaking” the 3D printer, capturing the frequency of the shakes, and calculating how much each movement must be compensated for. In other words, input shaping enables the printer to predict how each movement’s vibration will offset the nozzle’s exact position, in order to cancel it out.
While Klipper’s resonance compensation feature requires manual input with calipers and some programming knowledge (perfect for advanced makers!), Raise3D has made the process plug-and-play for time-constrained professionals.
To do so, the team had to rethink their whole ecosystem, comprised of hardware, materials, and software.
Hardware: Auto calibrator and upgraded hot ends
Raise3D’s automatic calibrator looks like a printhead, and benefits from the same EasySwap ease of use as a printhead (a Raise3D printhead), but– you got the point– it’s not a printhead. Without getting too much into the details, this part boasts an accelerometer; it is what measures the aforementioned “shakes” for the X and Y axis.
The HUK3 also comes with two dedicated nozzles for the Pro3 Series’ dual extruders. The heating coils inside the print heads are made of copper, offering better heat conductivity than the usual stainless steel ones.
The Pro3 Series’ pre-existing, robust frame and reliable logic and motion controllers also play an important role in enabling Hyper FFF.

Materials: A special formula for quicker melting and cooling
Successful FFF 3D printing has always largely been about fine-tuning important parameters such as cooling fan speed, print and travel speed, nozzle and plate temperatures, and so on. These parameters differ from one material to another, especially ones linked to melting and cooling temperatures.
To accelerate the 3D printing process– by up to 5X, for simple, large parts– while maintaining a good layer bonding strength, Raise3D developed a line of Hyperspeed-specific materials specially formulated to melt and cool quicker and flow better.
Note: While it is possible to print faster to some extent with regular filaments, it won’t be possible to print them as fast as the HUK3 can go. More on that a little further down.
They achieve this by “optimizing and balancing the material’s molecular weight”. By doing so, their Hyperspeed (HS) materials allegedly offer better performances (for some mechanical properties) than their Premium materials.
Each thermoplastic has its specificities, and each requires its own, deep research, which is why more HS materials will only be released as Raise3D finetunes them over the next months.
The company will also later release a Hyper Core line for its industrial RMF500 3D printer.
Software: Tieing it all together
As we have seen throughout previous reviews, the folks at Raise3D always strive to make their ecosystem user-friendly. Raise3D made all the necessary updates to their software and firmware to guide users step by step throughout the process, offer preset material profiles, and overall ensure smooth Hyper FFF 3D printing.
Hyperspeed material compatibility and speed levels
The Hyperspeed material lineup includes, for now, PLA and ABS. Other proprietary material options such as PETG, ASA, PC, and support material are to be released as soon as next April. (Higher-performance materials such as carbon fiber and glass fiber-reinforced polyamides will be released via the Hyper Core line for Raise3D’s industrial RMF500 3D printer.)
Raise3D’s Hyperspeed materials aren’t much more expensive than its regular Premium lineup. For reference, a spool of Raise3D Premium PLA is priced at $34.99, and a spool of Raise3D Hyperspeed PLA is only about a dollar higher at $36.00 (≈ a 3% increase).
The Raise3D research team has defined 4 levels of Hyper FFF, from level 0, a Raise Pro Series 3D printer without the HUK3, to level 3, which will be available in the future with their industrial solutions:

At this point, the Pro3 Series printers are able to reach level 1 (print speed multiplied by up to 3 times) with Raise3D’s Premium PLA and ABS, and level 2 (print speeds multiplied by up to 5 times) with the HUK3 and Hyperspeed-specific materials.
Raise3D’s hardware and software remain open-source for users to experiment with different materials and, together, strive for wider compatibility. For materials that have not yet been thoroughly tested and approved in-house, Raise3D cannot however guarantee results.
That said, the company mentioned in its launch event that over 200 filaments from over 30 brands are in development. The portfolio of officially validated materials should hence grow larger over the next couple of years.
Part size and geometry, other factors to weigh in
Materials aside, exactly how much of a speed increase you’ll achieve will depend on your 3D models’ geometries. We observed during our tests that Hyper FFF is more efficient when printing large geometric shapes and/or batches that take up the whole bed.

That’s because each time the extruder has the opportunity to move without interruption, it can leverage the HUK3’s superior speed. The more curves your model has and the more intricate it is, the less the HUK3 will be efficient. Drawing straight lines for a simple square part, for instance, is more straightforward than drawing out all the teeth on a gear.
During our tests, even on less favorable parts like an impeller or a Benchy, the Hyper FFF mode went at least twice as fast as the normal mode.
The nitty gritty: installing and using the HUK3 on a Pro3
Unboxing
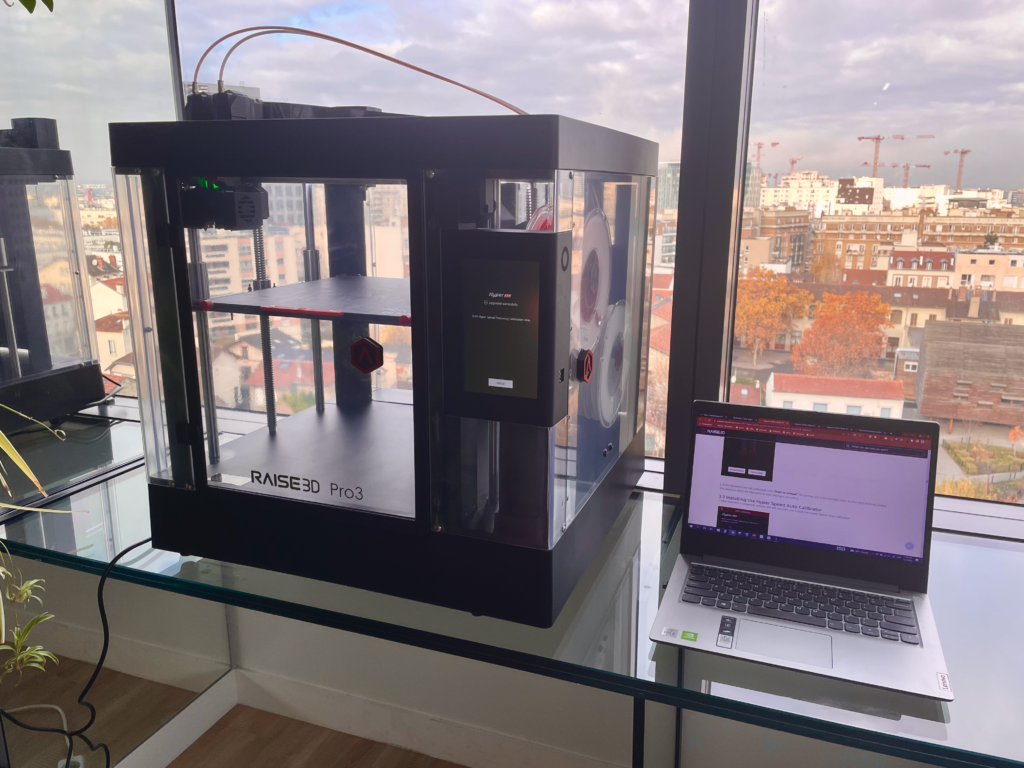
Raise3D sent us a Pro3 Series 3D printer for us to install and try the HUK3 on. As usual, everything came securely packaged, and the HUK3-bare Pro3 was easy to set up. Having already reviewed the Pro3 lineup, we won’t dwell too much on the 3D printer itself.
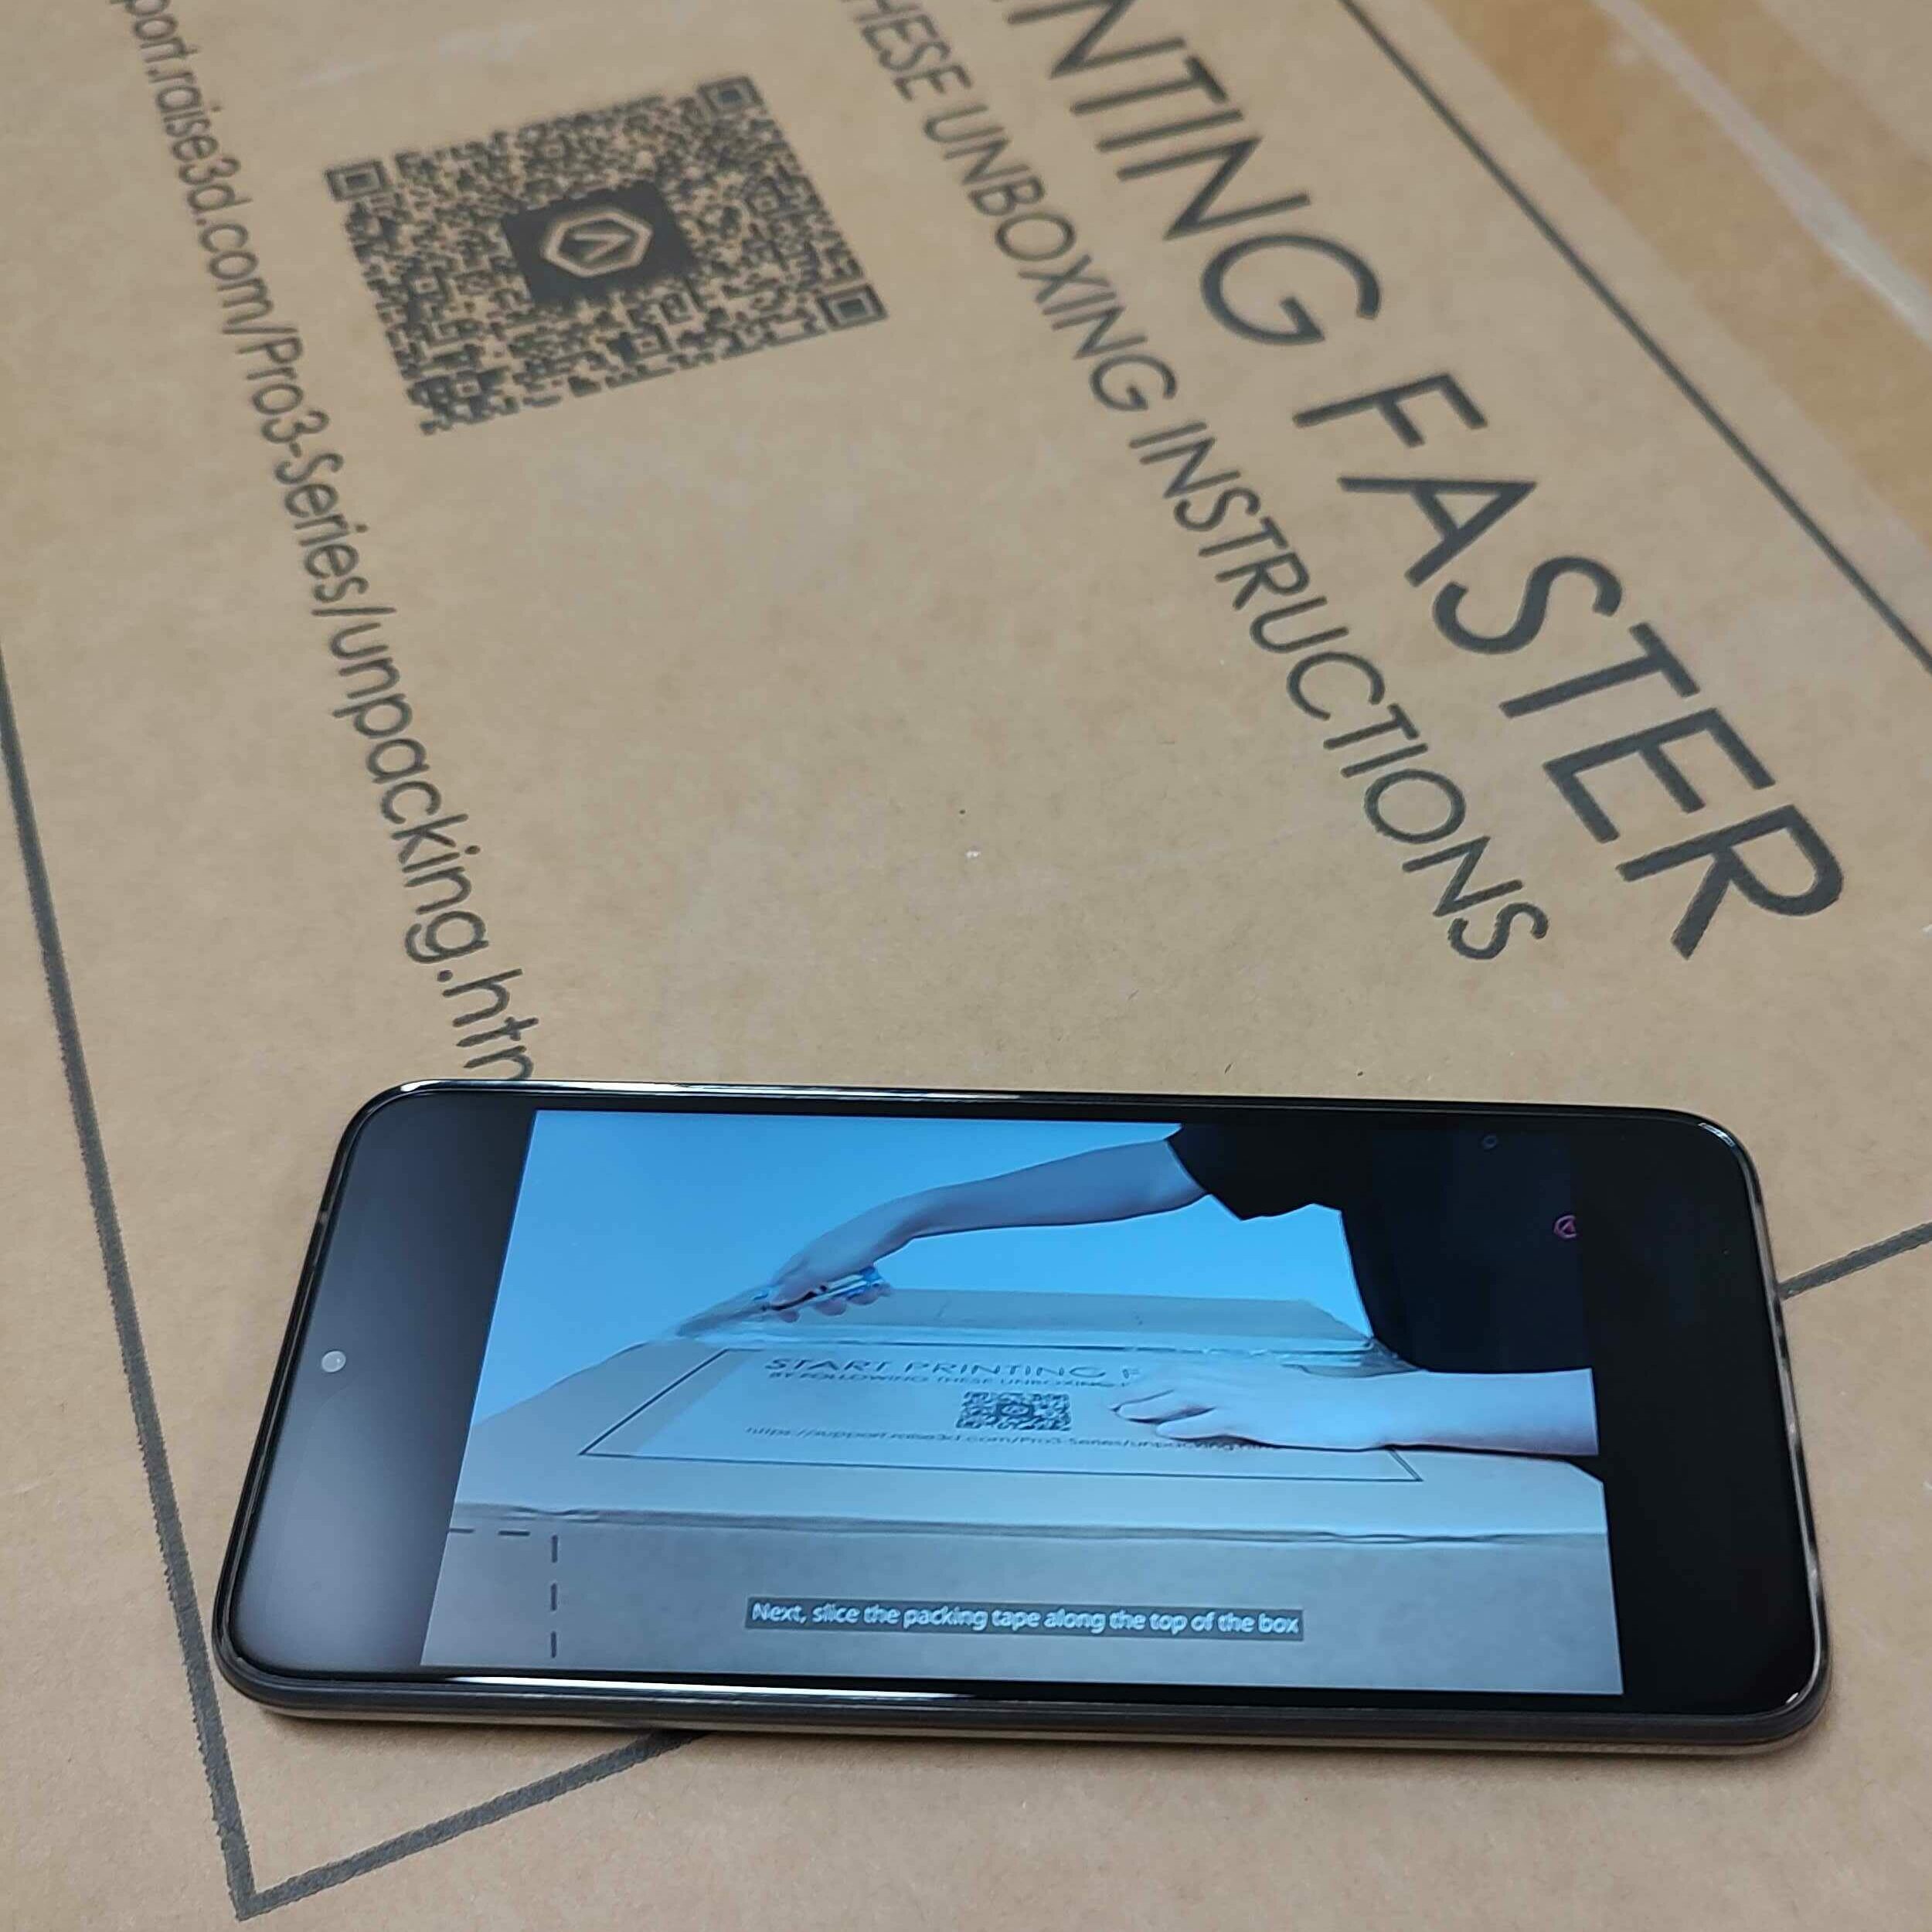
We will however reiterate the fact that Raise3D really puts emphasis on user experience, one example being the QR code printed directly on the packaging that takes you directly to the right installation video (also an example of Raise3D’s commitment to becoming more sustainable through their Go Green Initiative). It’s a very handy format that removes the need for installation brochures and other documentation that usually end up either in the trash or at the bottom of a drawer. The intuitive EVE AI-based assistant, accessible via the large color touchscreen, is another great example of user-friendliness in Raise3D products.
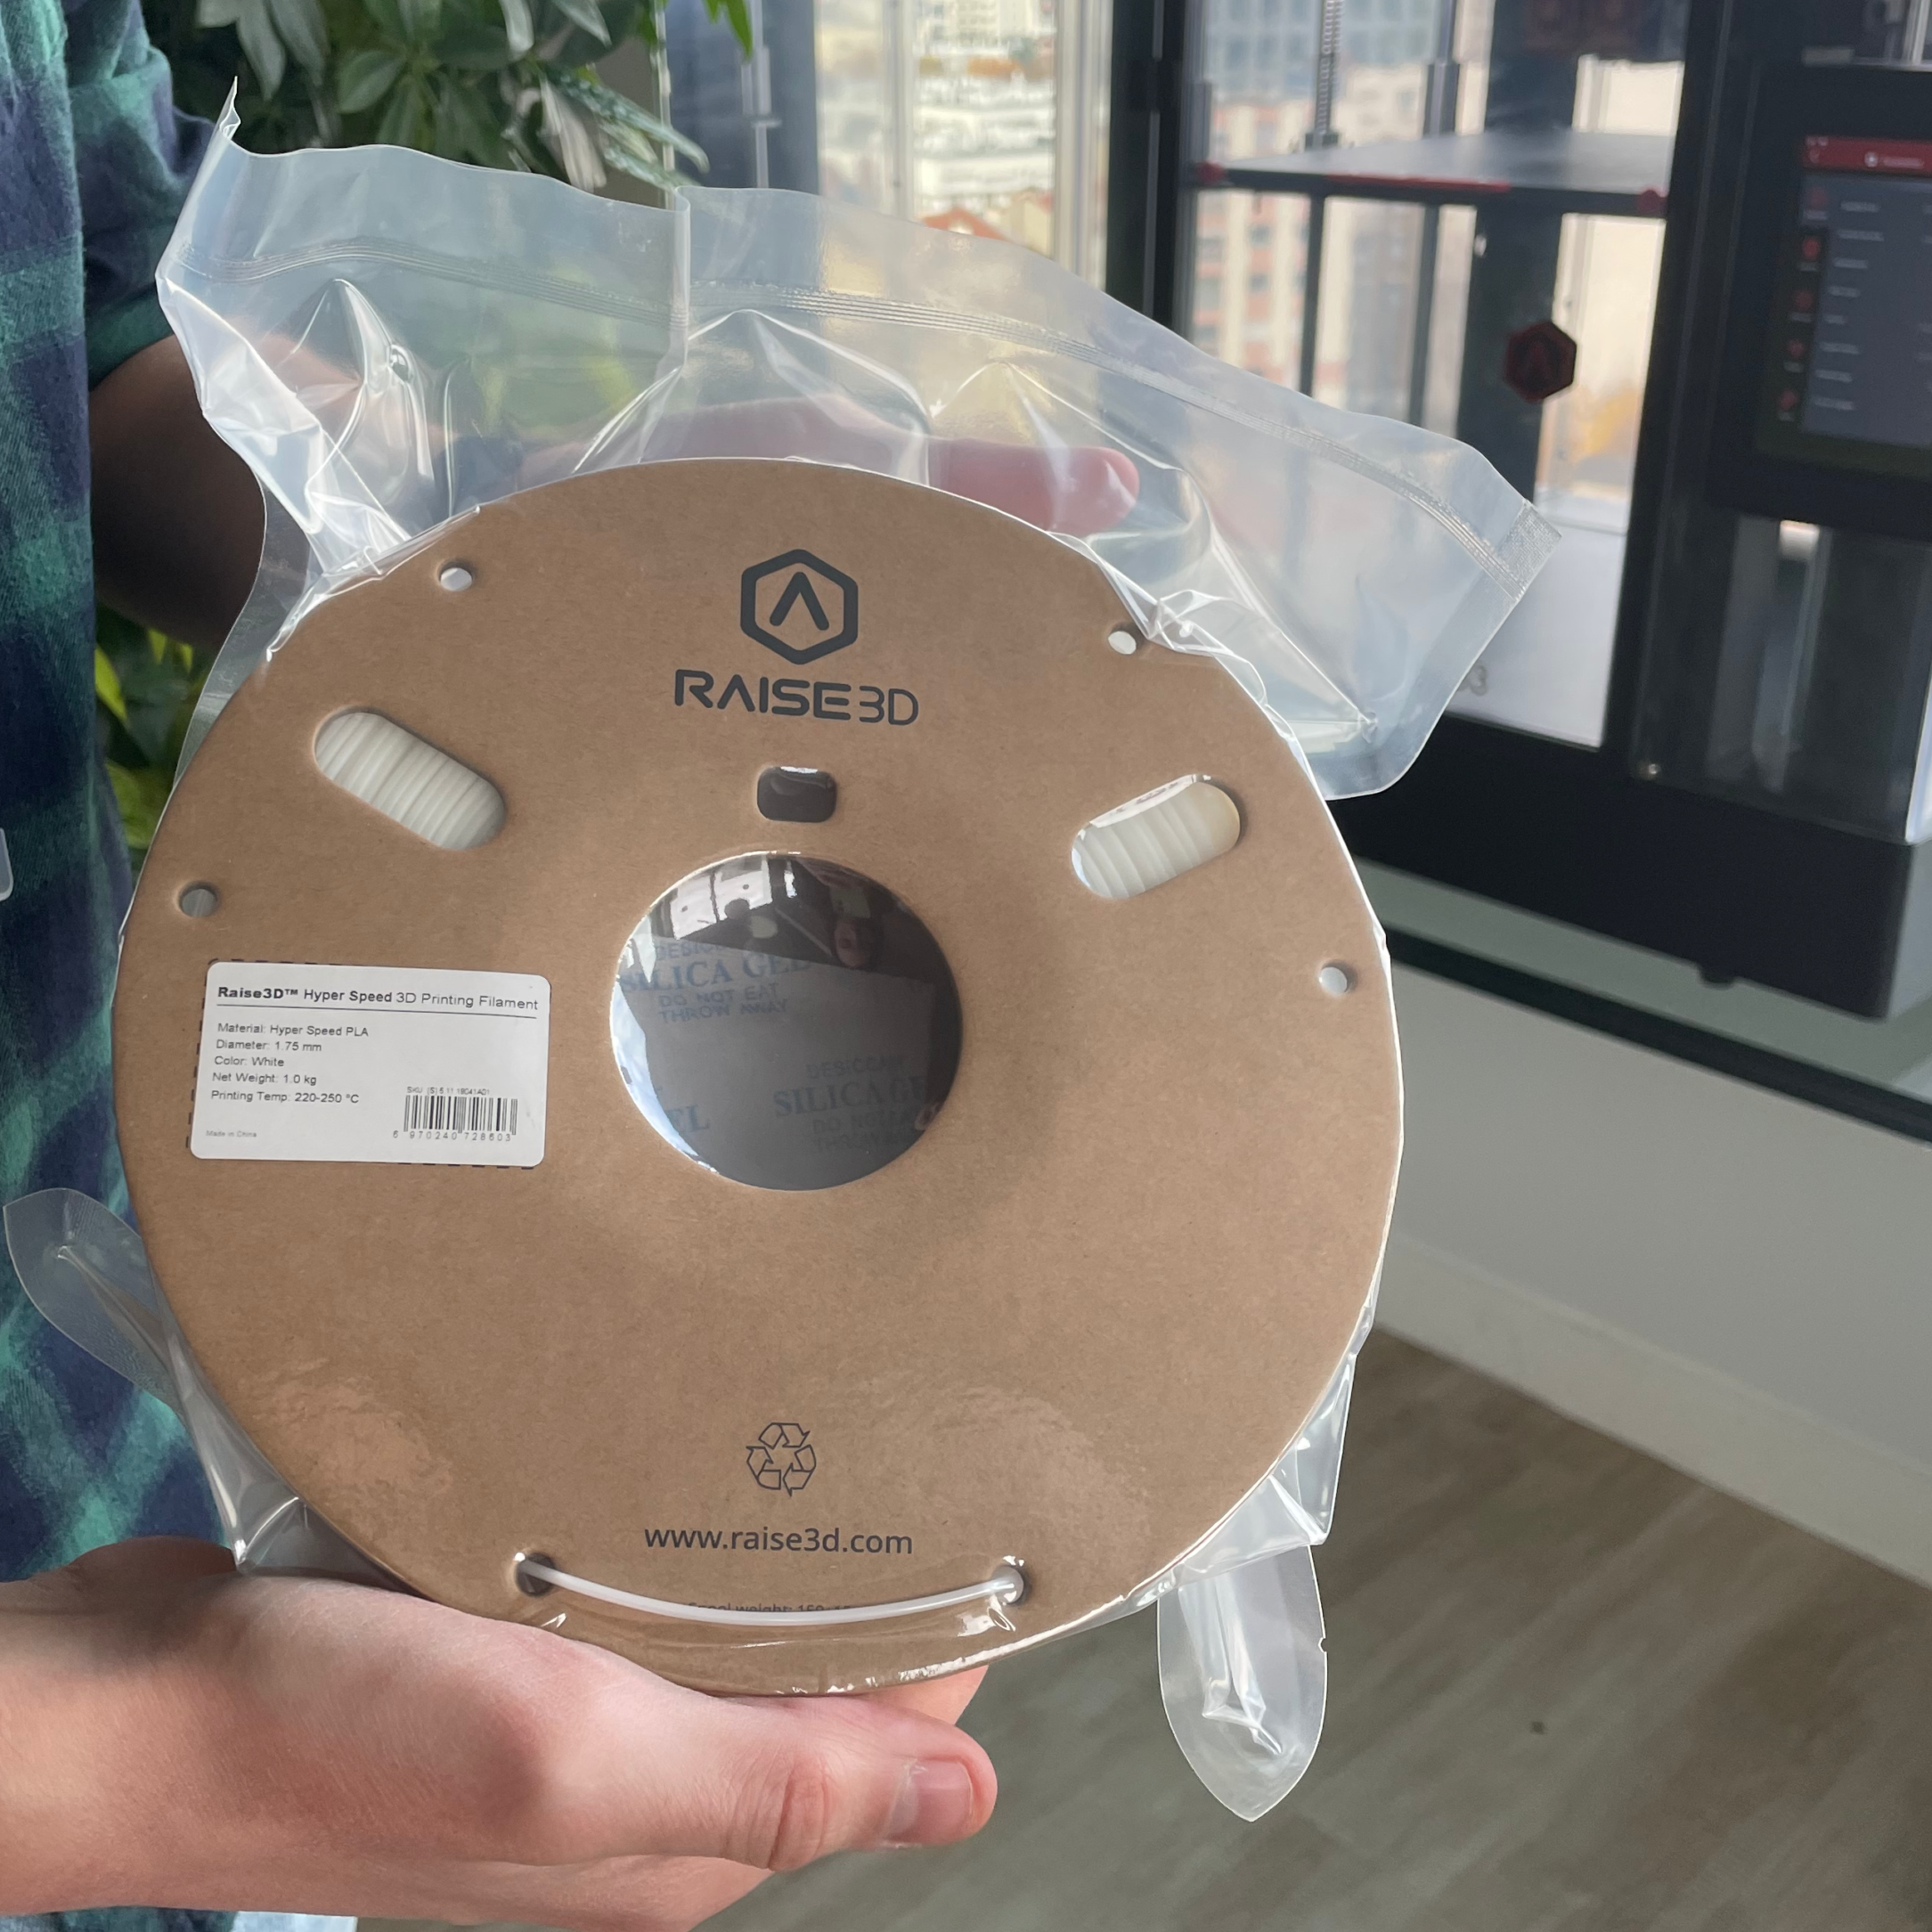
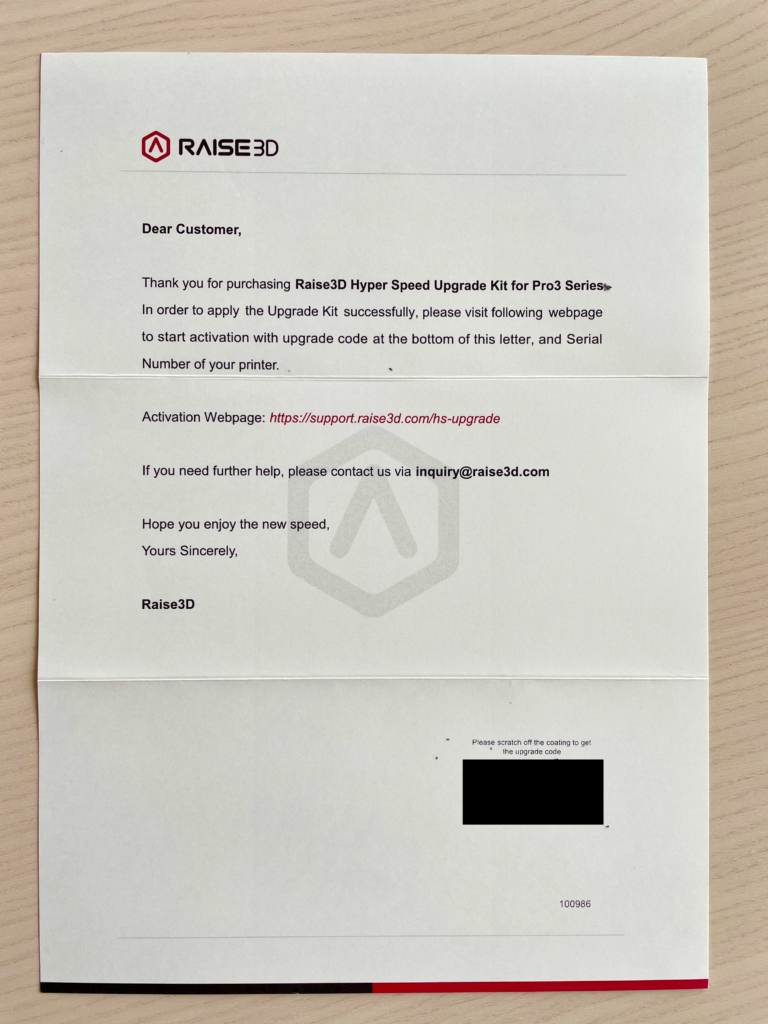
The Hyperspeed Upgrade Kit came in a separate, medium-sized box, fitting all the Hyper FFF hardware necessities: the two new print heads, the accelerometer to capture vibration frequency, the activation letter (with a sleek, “VIP” feel!), and two spools of dedicated filament (PLA and ABS).
We appreciate the fact that the spools are made of cardboard, and they include a cutout on the side to indicate how much filament is left on the spool. It’s practical to be able to quickly check remaining material quantities when opening up different boxes. Otherwise, during 3D printing, you can check how much material you have left thanks to RaiseCloud, which calculates what’s used up and what’s necessary for a given print.

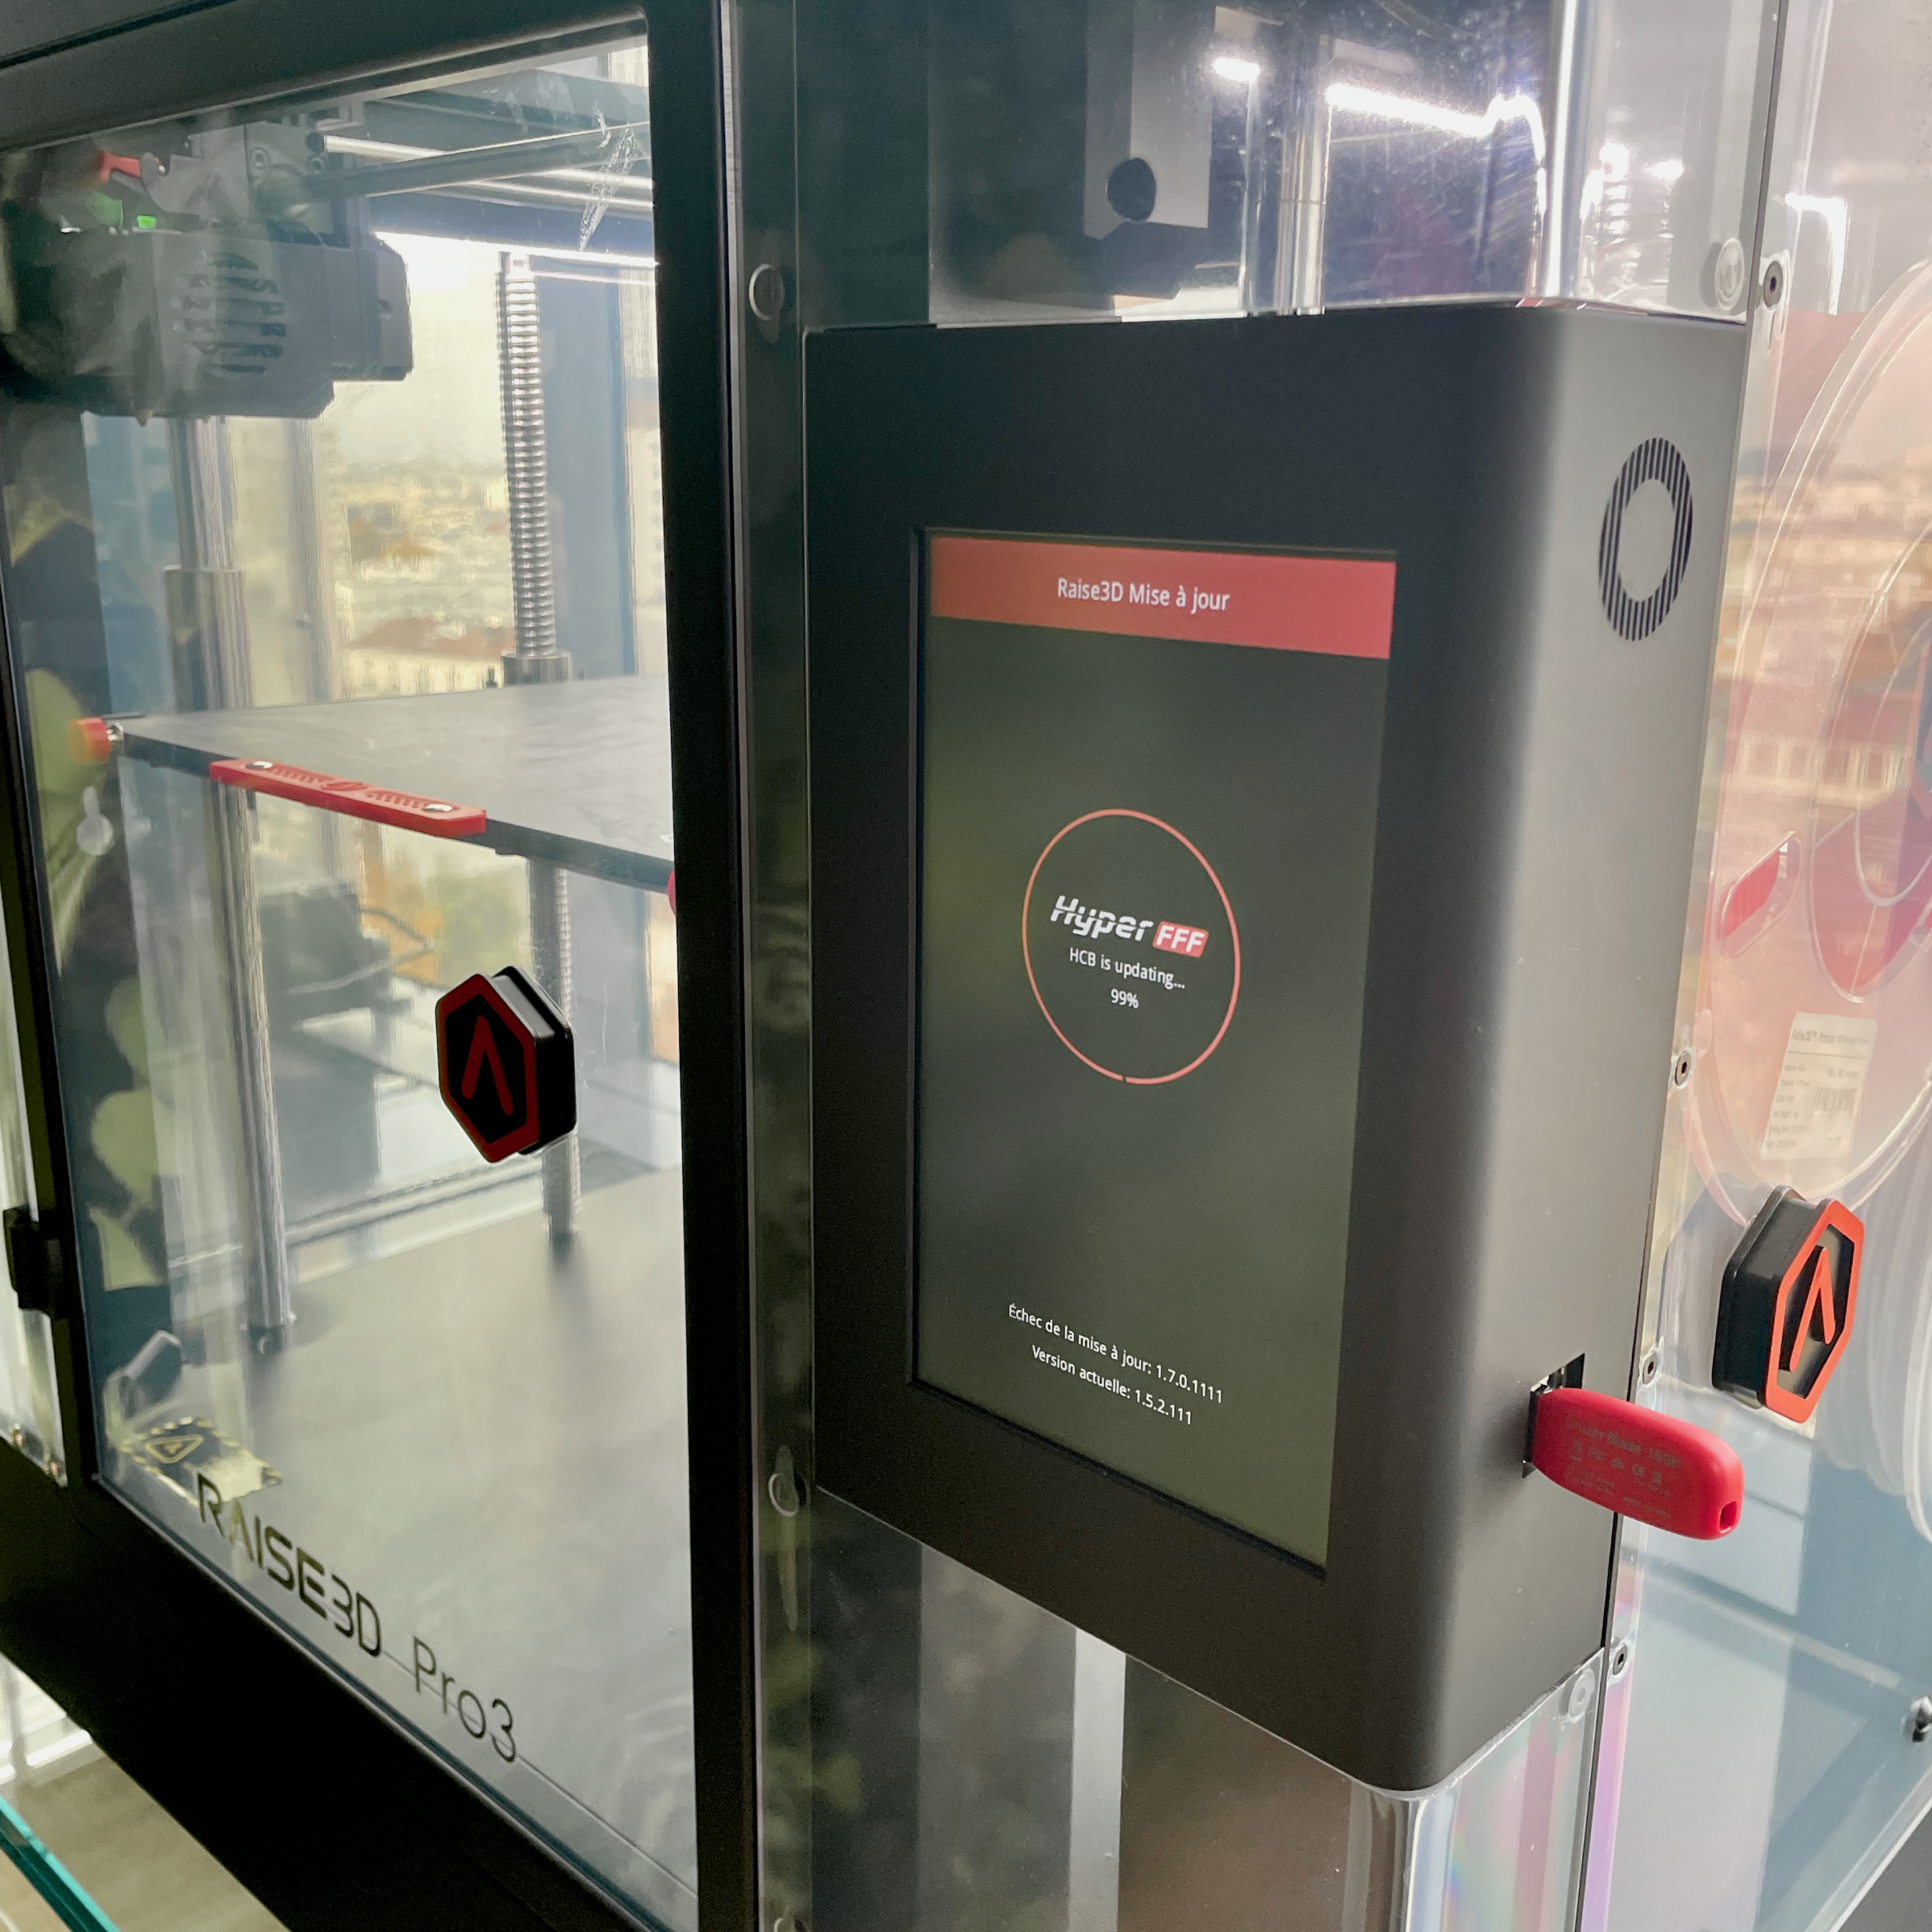
Software and firmware updates
We visited the webpage indicated in the activation letter to enter our code and get started. The landing page looks great, but the workflow (in alpha, at least) to install all the different software and firmware updates wasn’t the smoothest we’ve seen.
You first need to update the RaiseTouch firmware, then the Motion Controller Board (MCB) firmware, and finally, the IdeaMaker slicing software. These installations do not take very long, around 15 minutes give or take.
Installation and calibration
The touchscreen’s intelligent assistant EVE then guides you throughout the installation process. You must first install the Auto Calibrator “head” and launch the vibration frequency calibration. The printer starts trembling increasingly until it shakes like a washing machine during a spin cycle; this process lasts around 10 minutes and requires no manual input aside from installing the Auto Calibrator at the beginning.
Then, you must launch all the usual calibration steps: nozzle offset, bed leveling, and so on. It’s a bit long and slightly tedious (for any 3D printer) but more than accessible to newbies thanks to EVE Smart Assistant. It takes about an hour to perform all the steps; a small effort compared to the new speeds to be achieved afterward. Work hard, print hard!
Once the 3D printer is calibrated, it should work like a charm for months, according to Raise3D. We can confirm that the Pro3 and its HUK3 do seem very stable; after having to move the printer to a different room, we did not re-calibrate it, and the succeeding prints we launched kept coming out perfectly.
Putting the HUK3 to work
The process to launch a print is the same as usual, beginning with the ideaMaker slicer. Actually, it’s even faster than usual!
For high-speed extrusion, the G-code generation requires less sampling (e.g., fewer dots to describe a curve), which makes for much faster slicing. We found that normal slicing times were divided by two or three depending on the geometries.
After our models were prepped, we fed them into the Pro3 by USB key. It’s possible, and easier, to send models over to the Pro3 via RaiseCloud, but we were in a high-security building and connecting external devices to the Wi-Fi there is not a hyper-fast process.
For each new print, the Pro3 performs a quick bed leveling check before heating up to the right temperatures and laying down the first layer. We noticed that the Hyperspeed PLA is visibly more fluid when extruded compared to the normal Premium PLA. This is due to the special formulation we explained earlier, to enable better high-speed extrusion and better adhesion between layers.
It’s smooth sailing from there, and we left the printer unattended most of the time, except for a few curious check-ins here and there; and being mesmerized for a few minutes by the printer’s speed. When you’re used to standard FFF, it truly is impressive to discover and watch Hyper FFF in person.
As usual, at the end of each print, the touchscreen displays the total print time and material usage. EVE asks if the print was a success, and offers to troubleshoot if you notice any issues with it. We did not have to bother EVE for any of our prints.
One minor detail that bothered us a little, and that we already mentioned for the Pro3 Plus, is that the front door opening is too narrow. You must plan for a few extra inches of free space to the left of the printer to ensure the door opens wide.
Showdown
One of our main goals around these tests is, of course, to see how fast Hyper FFF is compared to standard FFF, without losing quality. We thus printed several identical objects in both modes.
As a general note, we noticed that HUK3 prints look smoother than their normal counterparts, and the fluidity of Hyperspeed materials seems to naturally cancel any small aliasing effects. We also noticed that the white Hyperspeed materials are noticeably more transparent, especially when you put the prints right next to each other.
Now, time for the showdown!
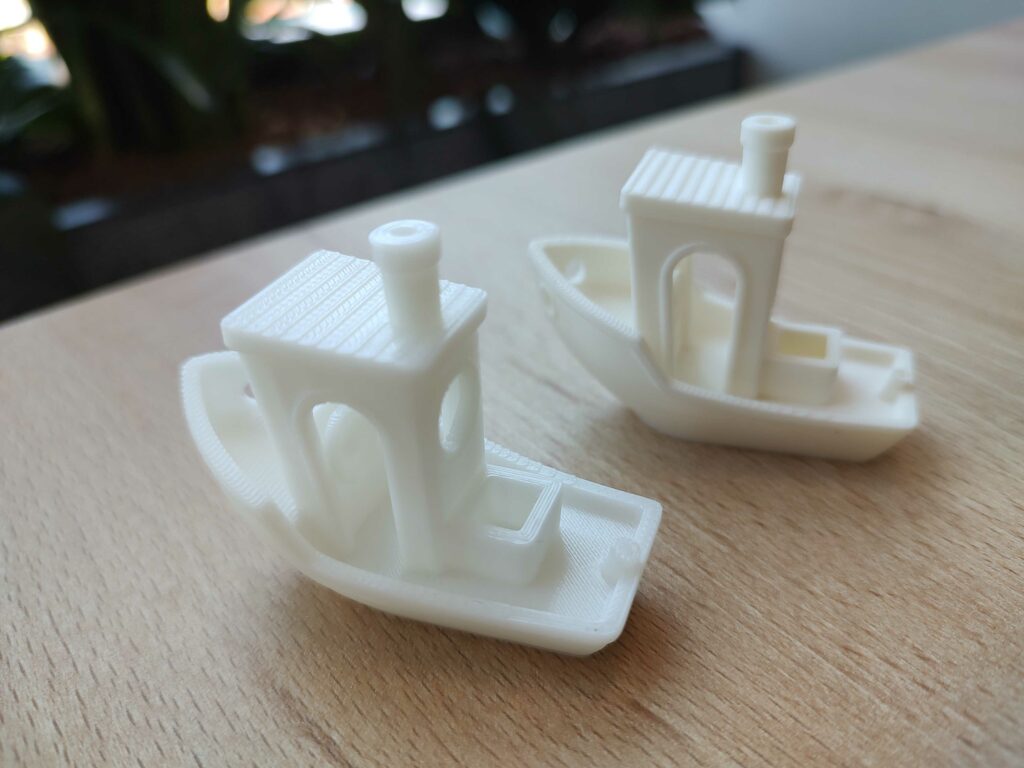
Benchy
We decided to do a comparison on a timeless torture test, the Benchy, with good old PLA (or rather, the brand new “Hyperspeed PLA”). One of them was printed in around 2 hours, while the other, a same-sized Benchy was printed in just under one hour.
We actually got better layer adhesion on the Hyperspeed Benchy here, distinguishable by its slight translucence.
Recap:
| Model | Print speed | Quality settings | Time (hours) |
| Benchy x1 | High-speed (LV2) | Medium (0.2 mm layer height) PLA | 0:56 |
| Benchy x1 | Normal (LV0) | Medium (0.2 mm layer height) PLA | 1:56 |
We had a better result on the High-speed Benchy that was printed twice as fast as the normal one.


Propeller and pipe
For our second face-off, we 3D printed a propeller alongside a pipe model. With the HUK3 and Hyperspeed PLA, printing both of these parts took about 30 hours with a 100-micron resolution.
We wanted to replicate exactly the same test in normal mode but it would have just been too time-consuming (over 118 hours estimated).
So we decided to reprint the propeller alone (without the pipe this time) in normal mode and with lower quality, at a layer thickness of 200 microns. It took the same 30-hour length as the previous two prints, even with thicker layers. The Hyper FFF propeller looks better than the normal one (granted, it was printed in better resolution).
| Model | Print speed | Quality settings | Time (hours) |
| Propeller x1, Pipe x1 | High-speed (LV2) | High (0.1 mm layer height) PLA | 29:32 |
| Propeller x1 | Normal (LV0) | Medium (0.2 mm layer height) PLA | 31:01 |
Producing two large prototypes in High resolution took less time in High-speed mode than printing only the smaller of the two with Medium resolution and, of course, results superior with high-quality settings!


Manifold
Impressed by our first experiences, we decided to increase the difficulty by printing the manifold model we had printed on a classic Raise3D Pro3 Plus in a previous review.
This model with its large overhangs is very challenging for FFF 3D printers, and we were surprised we obtained excellent results on the first try without any optimizations.
The Hyper Speed manifold took 17h45 compared to an initial 61 hours at LV0 speed, with the exact same printing parameters (ABS high-definition). There were some minor defects on complex overhangs (as with the original), but we were impressed by the results, once again.
| Model | Print speed | Quality settings | Time (hours) |
| Manifold x1 | High-speed (LV2) | High (0.1 mm layer height) ABS | 17:45 |
| Manifold x1 | Normal (LV0) | High (0.1 mm layer height) ABS | 61:00 |
The high-speed model was printed 3.43 times faster than the classic one. The quality is comparable, with minor failures on some of the model’s complex overhangs.


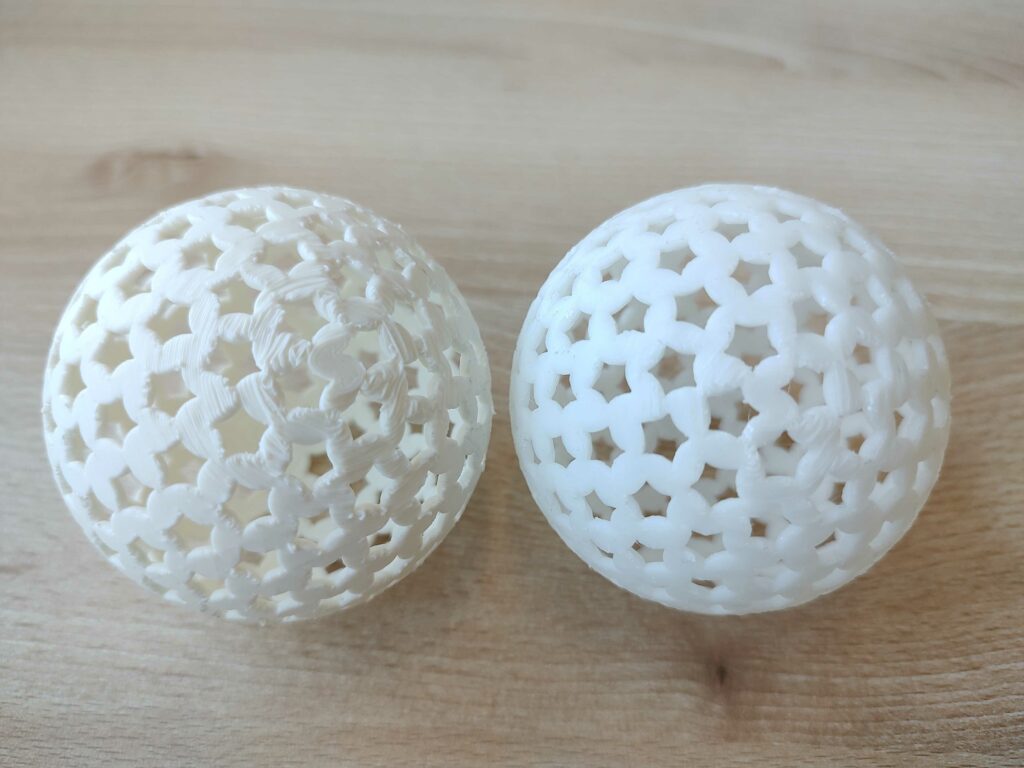
Christmas ball
For an ultimate face-off, we wanted to challenge the HUK3 with a part that has a complex, intricate geometry, and many overhangs: a Christmas ball.
| Model | Print speed | Quality settings | Time (hours) |
| Christmas ball x1 | High-speed (LV2) | Medium (0.2 mm layer height) PLA | 2:39 |
| Christmas ball x1 | Normal (LV0) | Medium (0.2 mm layer height) PLA | 4:57 |
To our great surprise, we got a significantly better result with the High-Speed model which took only 54% of the time the Normal one took us.
Other prints
We did a few extra prints on the side to challenge the Pro3 in normal mode and with the HUK3 and have also obtained very good results.
In our ABS batch prints, the first layer sometimes didn’t adhere perfectly to the build plate, we easily solved the issue by adding more brim loop lines.
PCB case
We tested printing a PCB case model provided by Raise3D.
The results were good overall, although we can see minor issues on one of its sides.


Holiday season batch
We tested the printer right before the holiday season and used the dual extruder to print a batch of intricate decorations in white and red, both
It was a bit of a demotion from the E2CF’s IDEX (independent dual extruders), but the Pro3 handles standard dual extrusion very well. There’s absolutely no spillover between colors, and ideaMaker generates an optimized purge tower to waste as little material as possible while guaranteeing the purest prints.
The purge tower is small and is only printed up to the required height. Here, the purge tower (or small pancake, in this case) only goes up to the height of the white snowflakes, after which only red layers remain for the deer. It’s useless to keep purging if one of the print heads is inactive for the remaining print time– clever!

What this means for your ROI
In our experiments, the Hyperspeed mode enabled print speeds between 2 and 4 times faster than the regular mode while maintaining similar 3D print quality. In some cases, the print quality can even be superior, thanks to the specificities of Hyperspeed materials.
We are pretty amazed that it’s now possible– with a desktop solution at under $6K– to print so fast with FFF technology, one whose speed has traditionally been a setback for many, and a disillusionment for AM newcomers.
But what does it actually mean in terms of ROI? Let’s do a rough, theoretical calculation.
Say we humbly count double the output, and go from an extrusion rate of around 1 gram per minute to two grams.
One spool of PLA, i.e., 1000 grams, costs $36. This means that for each minute that you are printing, your output is $0.036 greater.
The HUK3 costs $999. If we divide this price by 0.036– our added output value per minute– we get 27750 minutes, or 462.5 hours, or 19.3 days.
Thus, in theory, and moderately considering the output speed is “only” twofold, you can recoup your investment in 19.3 days. If you consider a more favorable, fourfold output, you’re breaking even in under 10 days (of non-stop production, which Raise3D’s printers are more than capable of).
Stating the obvious, faster production times mean quicker design iteration and shorter lead times for clients. In short, if you have a Raise 3D Pro3 Series printer that you use for intensive production and/or for rapid prototyping, then getting HUK3 is a very good and profitable idea.
Conclusion
After making large-format 3D printing accessible via reliable, user-friendly solutions, Raise3D is now aiming to multiply the productivity of its solutions.
We challenged the HUK3-equipped Pro3 with numerous printing jobs (7+ days of non-stop printing), from single parts to large batches, and from simple geometries to intricate ones. And we were not disappointed.
In terms of quality, all of our prints were successful (no fails), we only had a few very minor defects. Generally, the results of the Pro3 with HUK3 and its dedicated Hyperspeed filaments were actually superior to those of the Pro3 alone.
In terms of speed, our prints went from twice as fast for small intricate parts to four times as fast for large parts and/or batches. On the most optimized print jobs that we simulated in ideaMaker, we saw that we could even go up to 6 times faster– impressive!
Priced at $999, and with no significant price increase for materials (at least for Hyperspeed PLA and ABS, which cost only 3% more than their Premium counterparts), the HUK3 should be a no-brainer for anybody who regularly produces PLA and/or ABS parts on a Pro3 Series 3D printer.
At this early product stage, all that is missing for the HUK3 to further disrupt the professional FFF 3D printer market and unlock new applications is more materials. We are impatient to see more HUK3-compatible filaments released.
Gallery